Simple tips for homeowners on adjusting a LiftMaster garage door opener for smoother, quieter operation.
A properly functioning garage door is essential for the convenience and security of your home. Over time, even the most reliable systems, such as those from LiftMaster, may require minor adjustments to maintain optimal performance. Whether you’re dealing with an unbalanced door, inconsistent opening and closing, or noisy operation, understanding the basics of adjusting a LiftMaster garage door opener can save you time and money.

Many homeowners believe that fine-tuning a garage door opener requires professional expertise, but in reality, several adjustments can be performed safely with just a bit of guidance. With proper knowledge, you can improve the lifespan of your garage door components and enhance overall safety.
Why Adjusting a LiftMaster Garage Door Opener Matters
Regularly adjusting a LiftMaster garage door opener ensures your system operates smoothly and safely. Garage doors that are out of alignment or improperly calibrated can cause excessive wear on components, reduce the lifespan of the opener, and pose potential safety hazards to your family and pets.
Keeping your LiftMaster opener properly adjusted also minimizes energy waste and helps maintain your home’s security. A door that fails to close fully or reverses unexpectedly can leave your property vulnerable. By investing a little time in adjustments, you can achieve peace of mind and optimal garage door performance.
Understanding the Basics of a LiftMaster Garage Door Opener
Before attempting any adjustments or maintenance on your LiftMaster garage door opener, it’s essential to have a clear understanding of its fundamental components and how they work together. A well-informed approach not only makes the process smoother but also helps ensure your safety and the proper functioning of the system.
A typical LiftMaster garage door opener consists of several key parts:
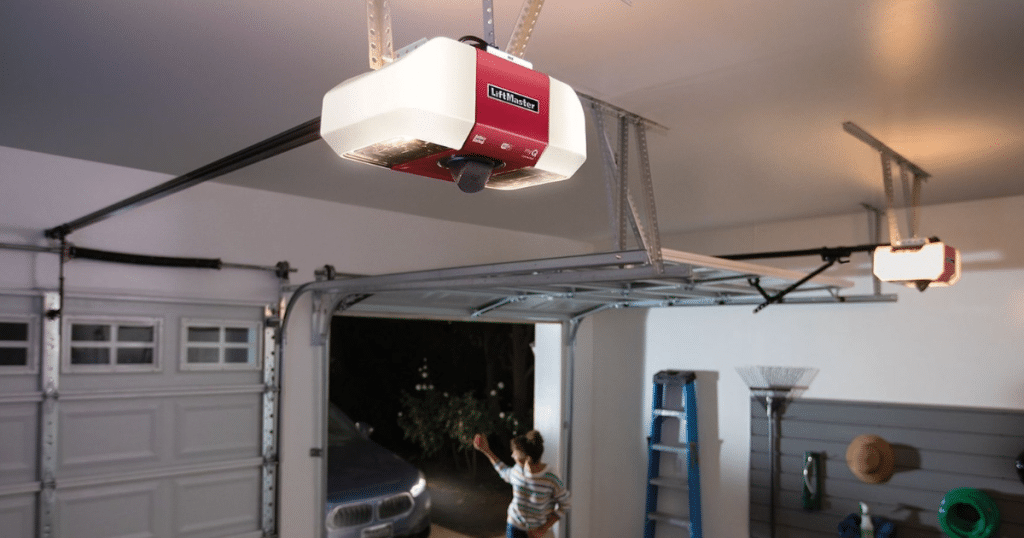
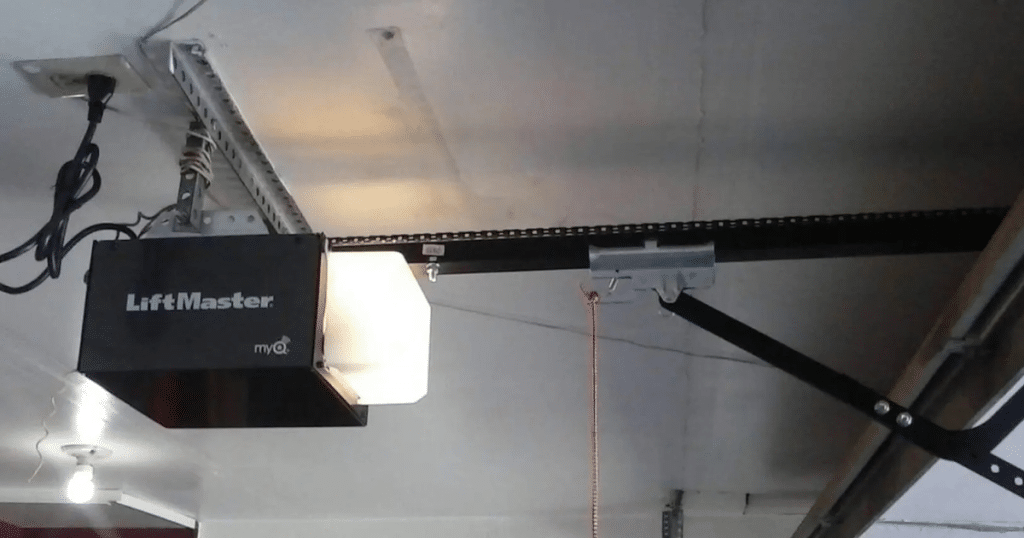
- Motor Unit: This is the central powerhouse of the opener, usually mounted to the ceiling of the garage. The motor powers the entire mechanism, enabling the garage door to open and close. Depending on the model, the motor may be chain-driven, belt-driven, or screw-driven, each offering different levels of noise, durability, and performance.
- Trolley and Rail System: The trolley is a moving component attached to the garage door arm. It runs along a metal rail, which guides the door as it opens and closes. The motor pulls the trolley, which in turn lifts or lowers the garage door. Understanding how the trolley connects to both the rail and the door is vital when diagnosing issues with movement or alignment.
- Limit Switches: These switches determine how far the door travels when opening or closing. They prevent the door from going too far in either direction, which could cause damage. The opener’s limit settings must be adjusted correctly to ensure the door opens fully and closes completely without slamming or staying ajar.
- Force Settings: These settings regulate how much power the opener uses to move the door. If the force is set too low, the door might not open or close properly; if it’s too high, it can be dangerous, especially if there’s an obstruction. Proper adjustment of the force ensures smooth and safe operation under various conditions, including changes in temperature or humidity that might affect the door’s movement.
- Safety Sensors: Also known as photo-eye sensors, these are located near the bottom of the door tracks on either side. They create an invisible beam across the door’s path. If this beam is interrupted—say, by a person, pet, or object—the opener will stop closing and reverse the door’s direction. These sensors are crucial for preventing accidents and must be kept aligned and clean to function correctly.
Familiarity with these components makes adjusting a LiftMaster garage door opener much easier and more effective.
How to Safely Prepare for Adjustments
Safety should always be your top priority. Follow these steps before making any adjustments:
- Disconnect the opener from power to prevent accidental operation.
- Place the garage door in the fully closed position.
- Use a sturdy ladder for easy access to the motor unit.
- Have a helper on standby if adjustments require additional hands.
By preparing properly, you can confidently proceed with adjusting a LiftMaster garage door opener.
Fine-Tuning the Limit Settings
What Are Limit Settings?
Limit settings determine how far your garage door travels during opening and closing. Incorrect settings can cause the door to stop short or reverse unexpectedly.
How to Adjust Limit Settings
- Locate the limit adjustment screws on the motor unit. They are usually labeled “Up” and “Down.”
- To increase the open travel, turn the “Up” screw clockwise. To decrease it, turn counterclockwise.
- For closing travel, adjust the “Down” screw similarly.
- Test the door after each adjustment to ensure proper operation.
Adjusting a LiftMaster garage door opener limit settings takes only a few minutes but can significantly improve functionality.
Adjusting the Force Settings

Why Force Settings Matter
Force settings control the power applied by the opener to open or close the door. Incorrect settings can lead to jerky movement or safety issues.
How to Adjust Force Settings
- Locate the force adjustment dials on the opener.
- To increase the force, turn the dial clockwise. To decrease the force, turn it counterclockwise.
- Test the door to ensure it opens and closes smoothly without excessive force.
Adjusting a LiftMaster garage door opener’s force settings ensures a balance between performance and safety.
Aligning and Testing Safety Sensors
Safety sensors are critical for preventing accidents. Misaligned sensors can cause the door to reverse unnecessarily.
Steps to Align Safety Sensors
- Inspect both sensors located near the floor on either side of the door.
- Ensure they are clean and properly aligned.
- Adjust the brackets if needed until both sensors emit a steady light.
- Test the system by closing the door and waving an object between the sensors—the door should reverse.
Adjusting a LiftMaster garage door opener’s safety sensors is a crucial step in maintaining a safe home environment.
When to Call a Professional
While homeowners can perform many adjustments, certain issues warrant professional assistance:
- Broken springs or cables
- Severe door misalignment
- Persistent motor malfunctions
If you encounter any of these problems, it’s best to contact an experienced garage door technician. This ensures your system remains safe and compliant with local regulations.
Frequently Asked Questions
How do I adjust my LiftMaster garage door opener?
To adjust your LiftMaster garage door opener, locate the adjustment screws on the motor unit, usually labeled for up/down travel and force. Turn the screws slightly with a flathead screwdriver to fine-tune how far the door opens or closes. Always test the door after each adjustment to ensure proper operation.
How to adjust the force on a garage door opener with manual adjustment screws?
Force adjustment screws are typically located on the back or side of the motor unit and are marked “up force” and “down force.” Turning the screw clockwise increases the force, while counterclockwise decreases it. Adjust in small increments and test the door after each change to maintain safety and smooth operation.
How do I program my LiftMaster garage opener?
Press the Learn button on the opener’s motor unit until the LED lights up. Within 30 seconds, press the button on your remote that you want to program. The light on the motor will flash or click to confirm it’s successfully programmed.
How to program a LiftMaster garage door opener without the Learn button?
If your LiftMaster unit doesn’t have a visible Learn button, it may be an older model with dip switches. Match the dip switch positions on your remote to those on the opener motor unit. Then test the remote to confirm it’s synced.
How do you reset a LiftMaster garage door opener?
Unplug the opener or turn off the power at the breaker for about 1 minute to reset it. If needed, press and hold the Learn button for 6–10 seconds until the LED turns off to erase all remote and keypad settings. Reprogram remotes and keypads afterward as needed.
Conclusion
Adjusting a LiftMaster garage door opener is a practical and achievable task for homeowners. With the right guidance, you can fine-tune your opener to ensure smooth operation, enhance safety, and prolong its lifespan.
Routine maintenance and adjustments can prevent costly repairs and unexpected malfunctions. By taking the time to understand and manage your LiftMaster opener, you are investing in the reliability and convenience of your home’s garage system.
If you ever find yourself facing complex issues or simply want professional peace of mind, contact Anna’s Best Garage & Overhead Doors. Our expert team is here to help keep your garage door system in top condition.
End Note
Anna’s Best Garage & Overhead Doors proudly serves as the top local garage door service provider in Anna, TX. Known for delivering exceptional value, we offer the most affordable solutions in the area. With a deep understanding of the unique needs of Anna residents, we’re dedicated to providing reliable, high-quality garage door repair and maintenance services.
From comprehensive garage door services to personalized consultations, our team is ready to help you achieve optimal garage door performance. Explore our areas we serve to see if we can assist in your neighborhood. Learn more about us and our commitment to quality and customer satisfaction. Stay informed with our helpful blog and don’t hesitate to contact us for expert service and support. Your trusted partner for garage door solutions in Anna, TX, is just a click away.
Anna’s Best Garage & Overhead Doors
1009 Mathew Dr, Anna, TX 75409, United States
+14696942469
